Created by: Lisa Totzke
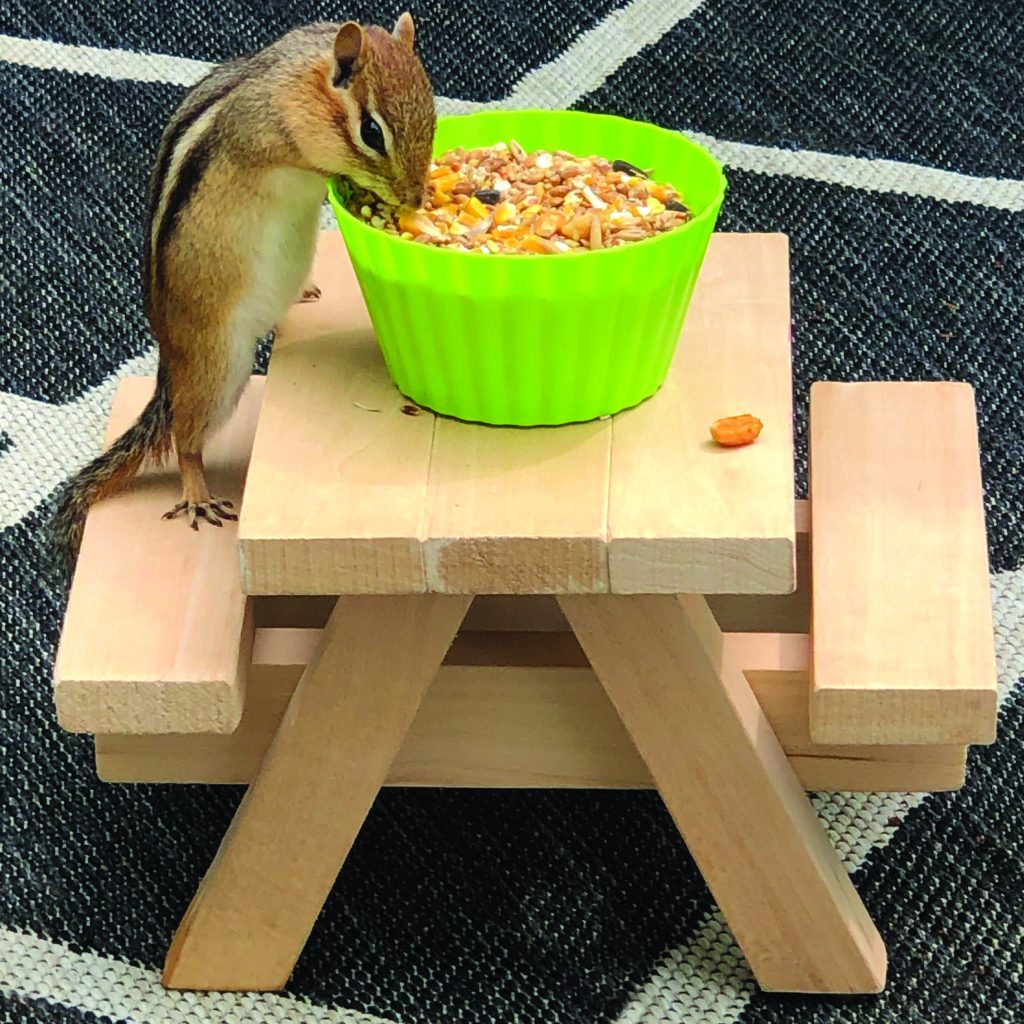
I have a resident “chippy” in my backyard so I thought I’d build him his very own spot to nibble on the goodies I leave out for him. Digging through my favourite idea file, I came across this cute little picnic table and it wasn’t hard to make (I even cut all the wood pieces myself )!
If you don’t have tools handy to cut the pieces to size yourself, you can always take your plan to the Home Depot and they’ll cut them down for you.
Here are the steps that I used to make this adorable little garden accent piece:

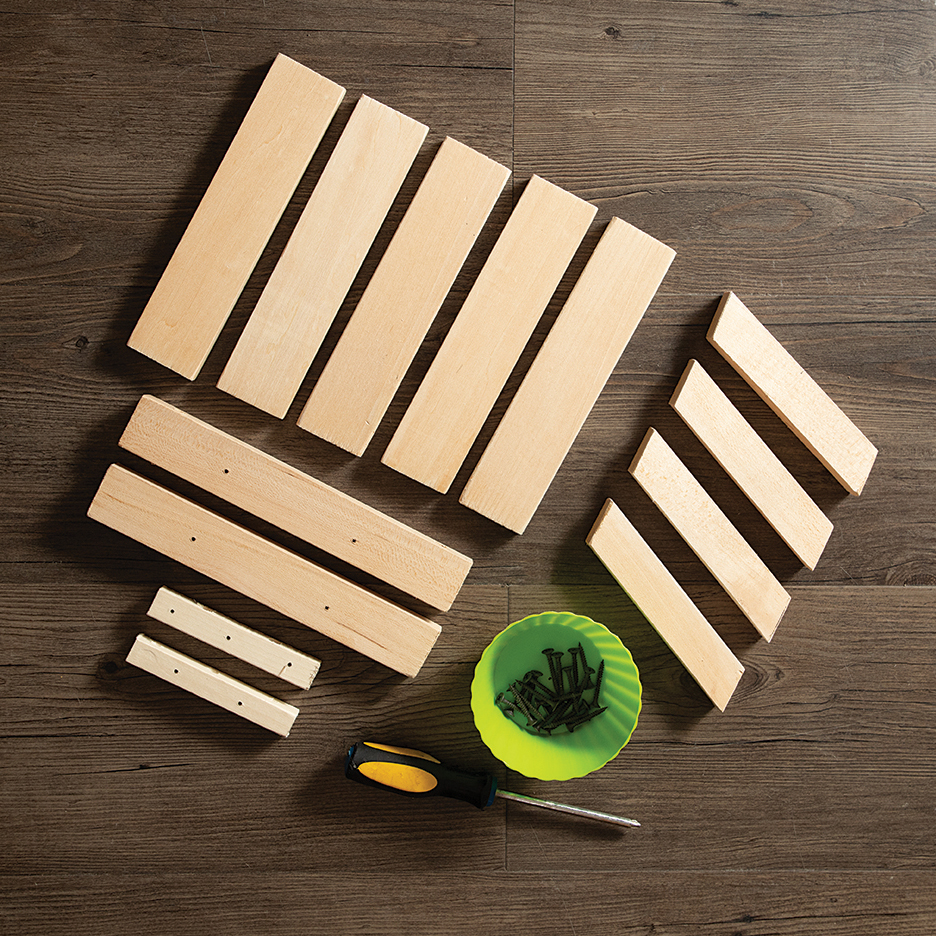
What you’ll need to start:
- 5 Pieces of wood 1/2″ thick (8″L 1.75″W)
- 2 Pieces 1″ thick (9″L 1.25″W)
- 2 Pieces 0.75″ square (4.25″L 0.75″W)
- 4 Pieces 1″ thick ends cut at 125 degree angle
- A plastic dish (optional)
- 19×1″ Wood screws
- Screwdriver
*Pre-drill 3 holes on one side, and 2 holes centered between them on the adjacent side of all the 9” and 4.24” pieces.*
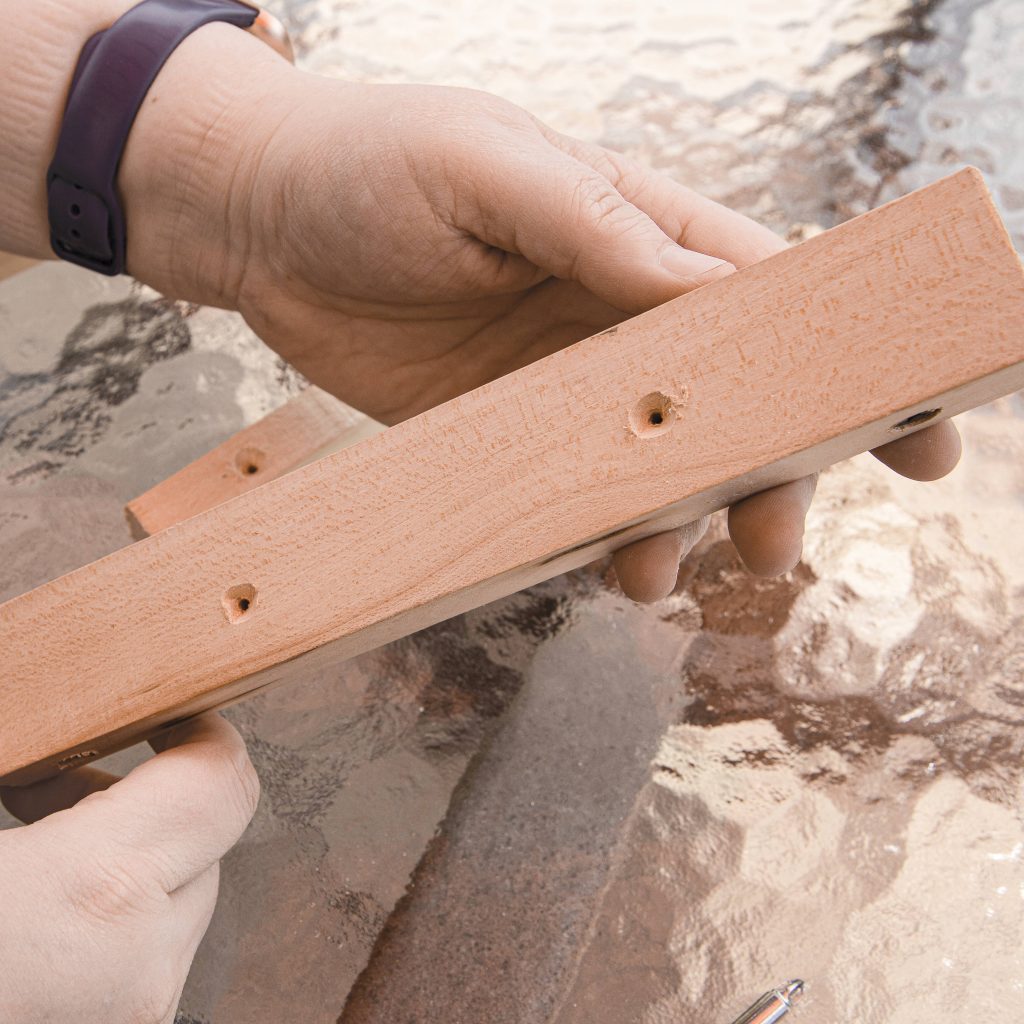
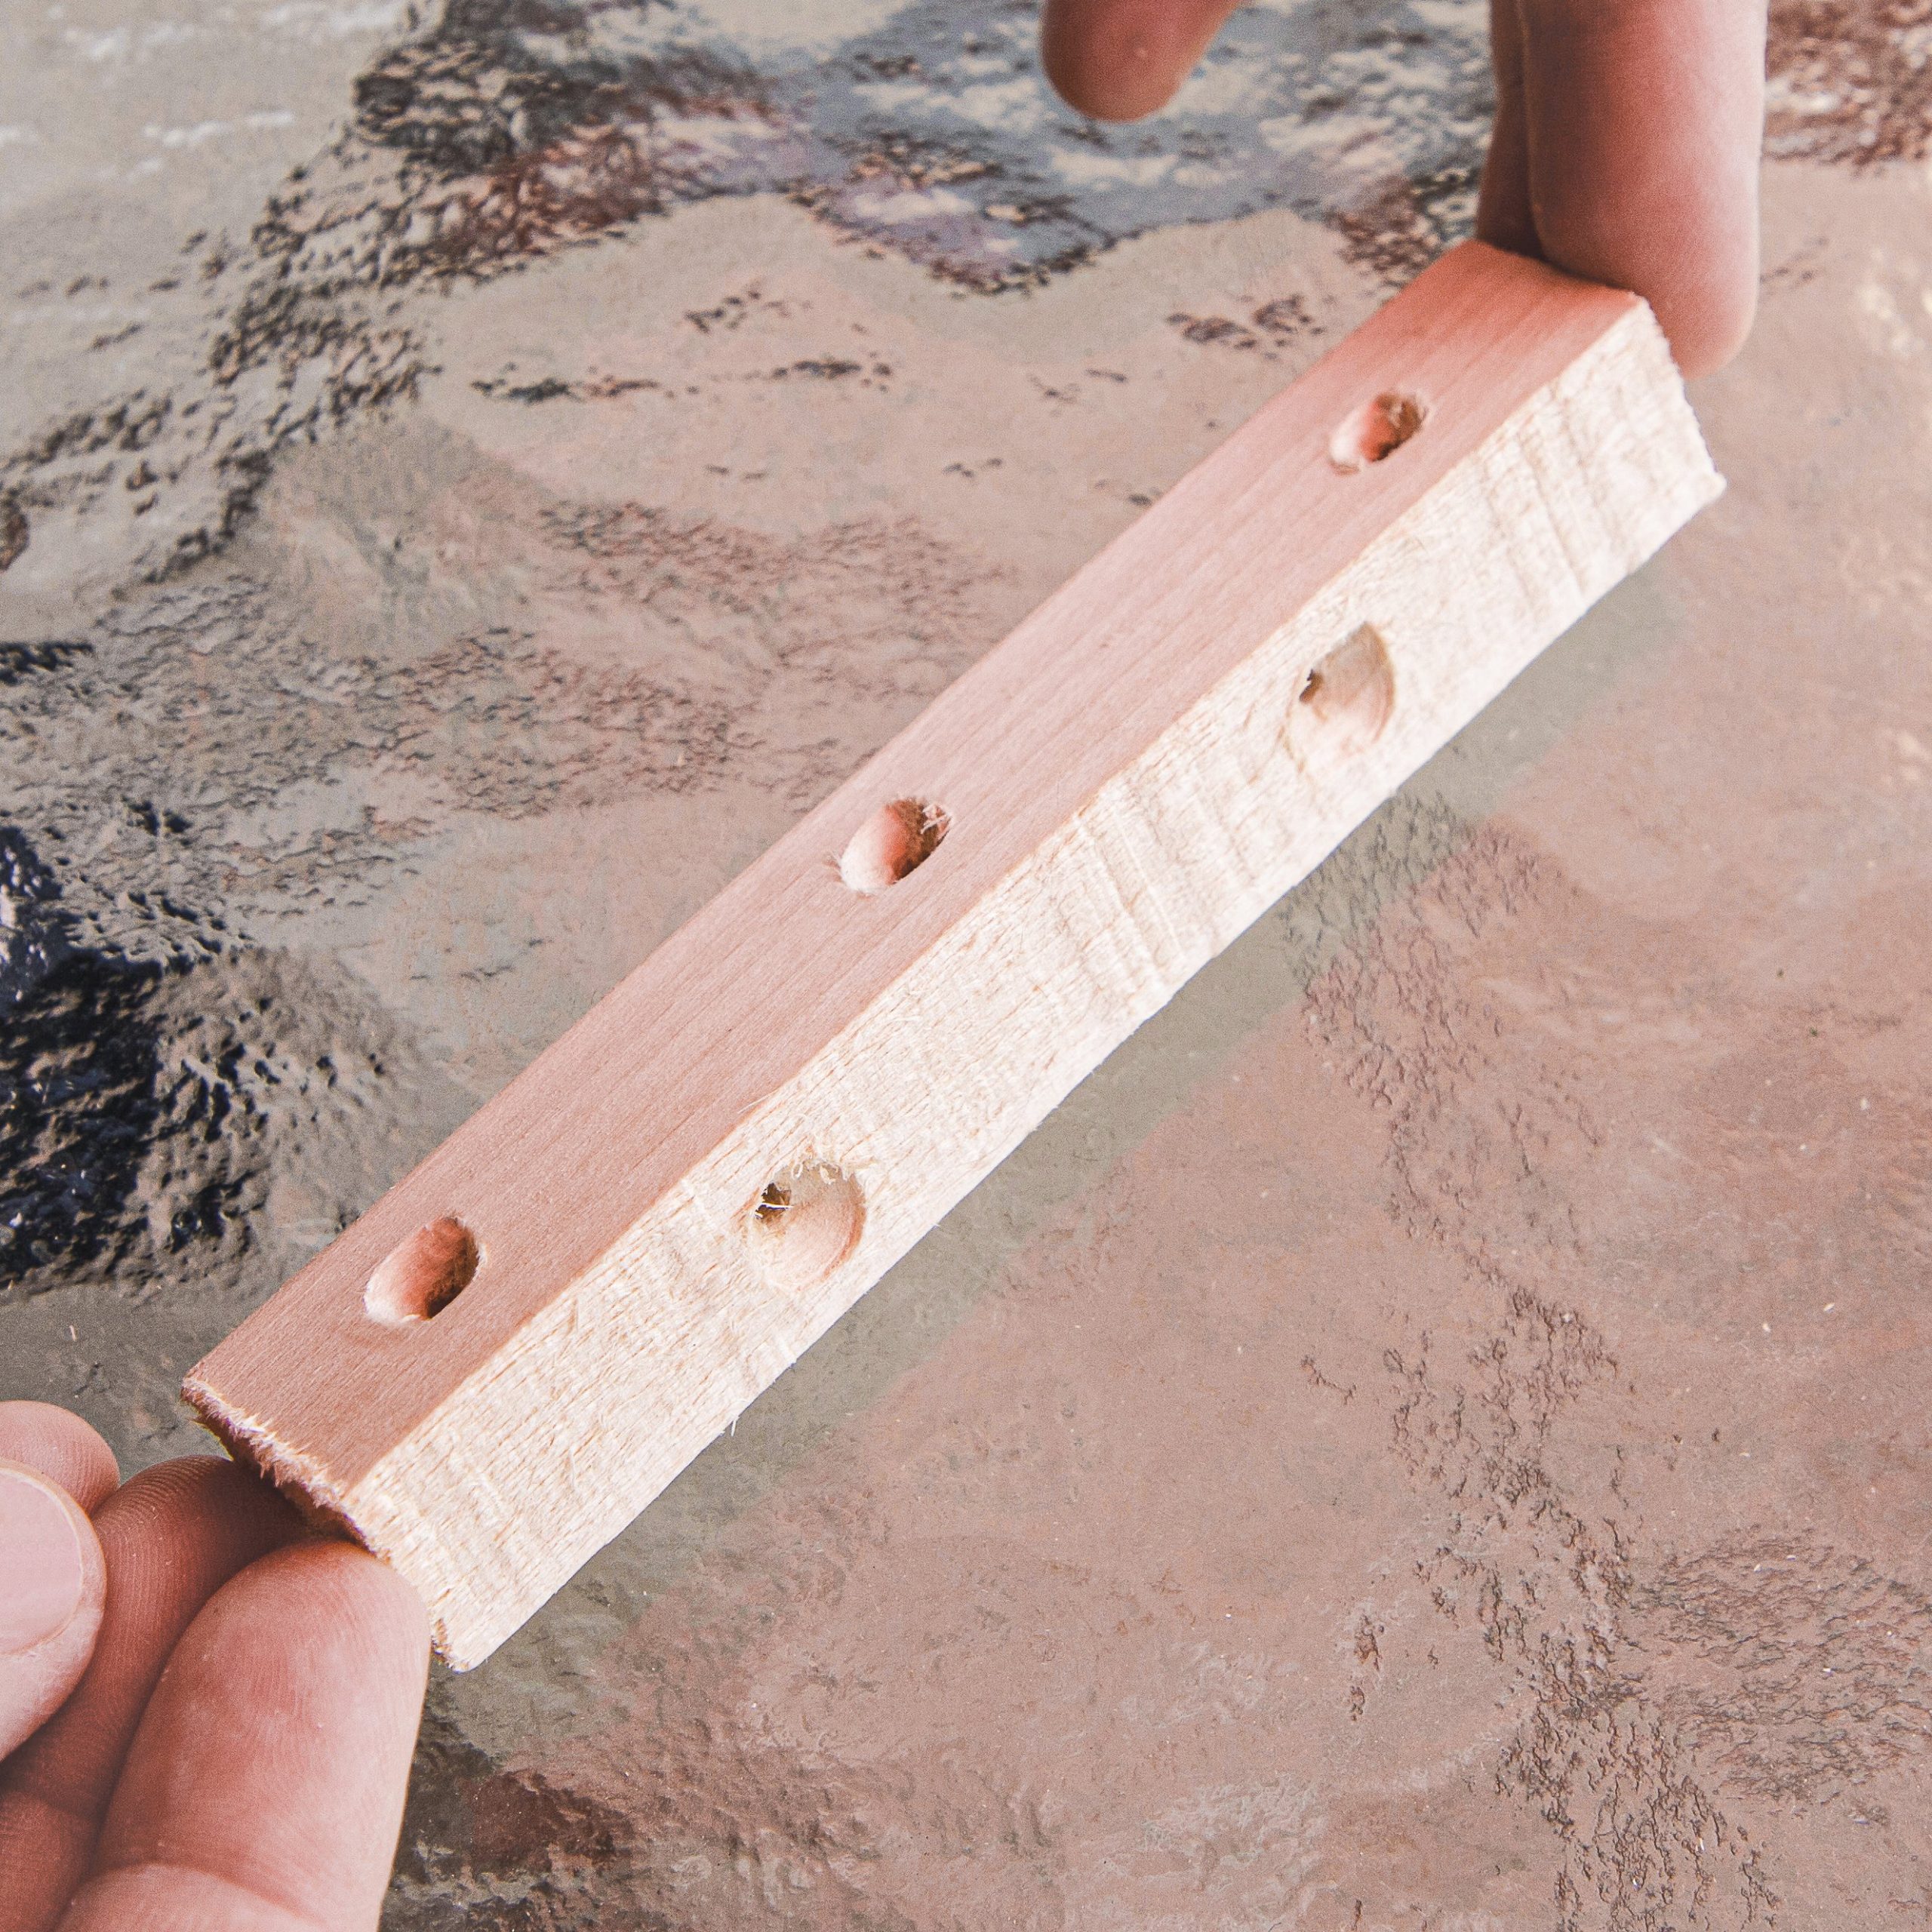
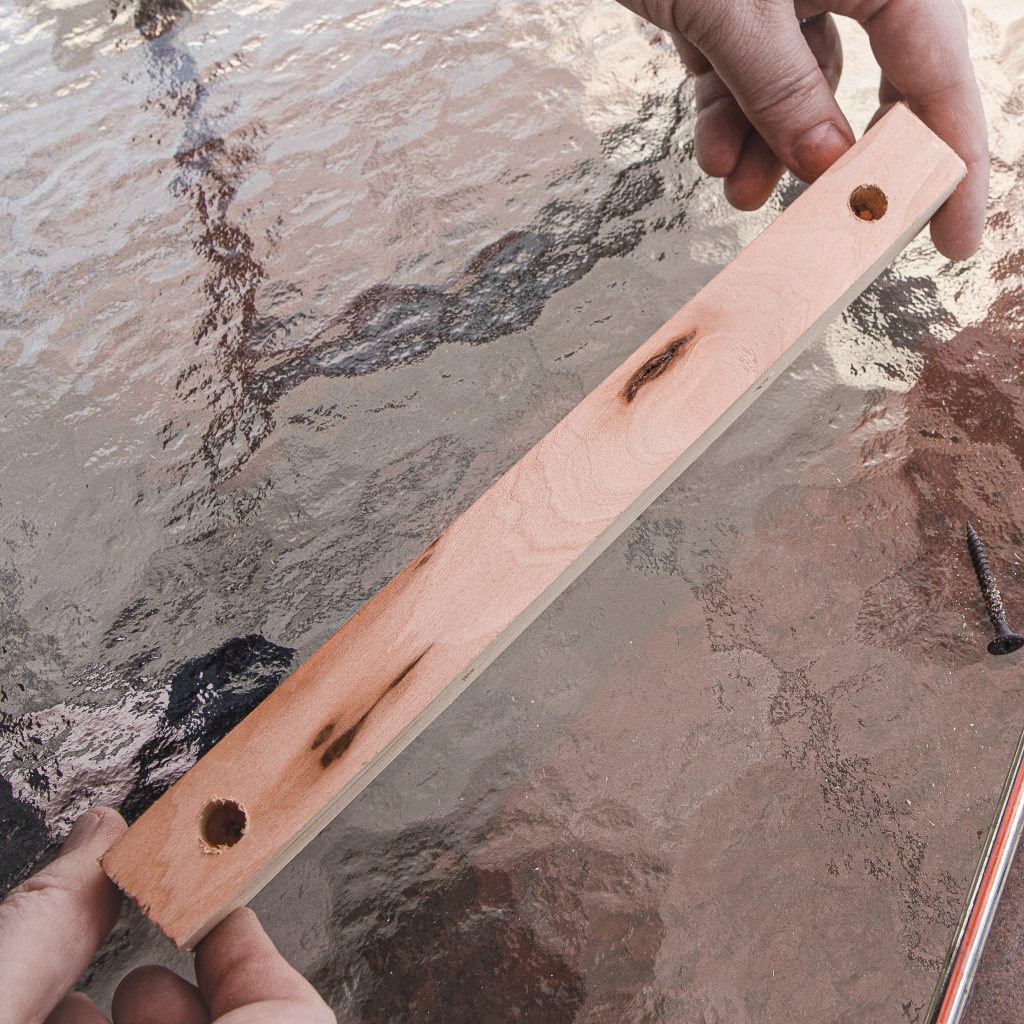
Steps 1-3
Pre-drill holes into the support pieces that attach the legs and the seat support pieces. They will be hidden on the underside of the table, so don’t worry about how they look.
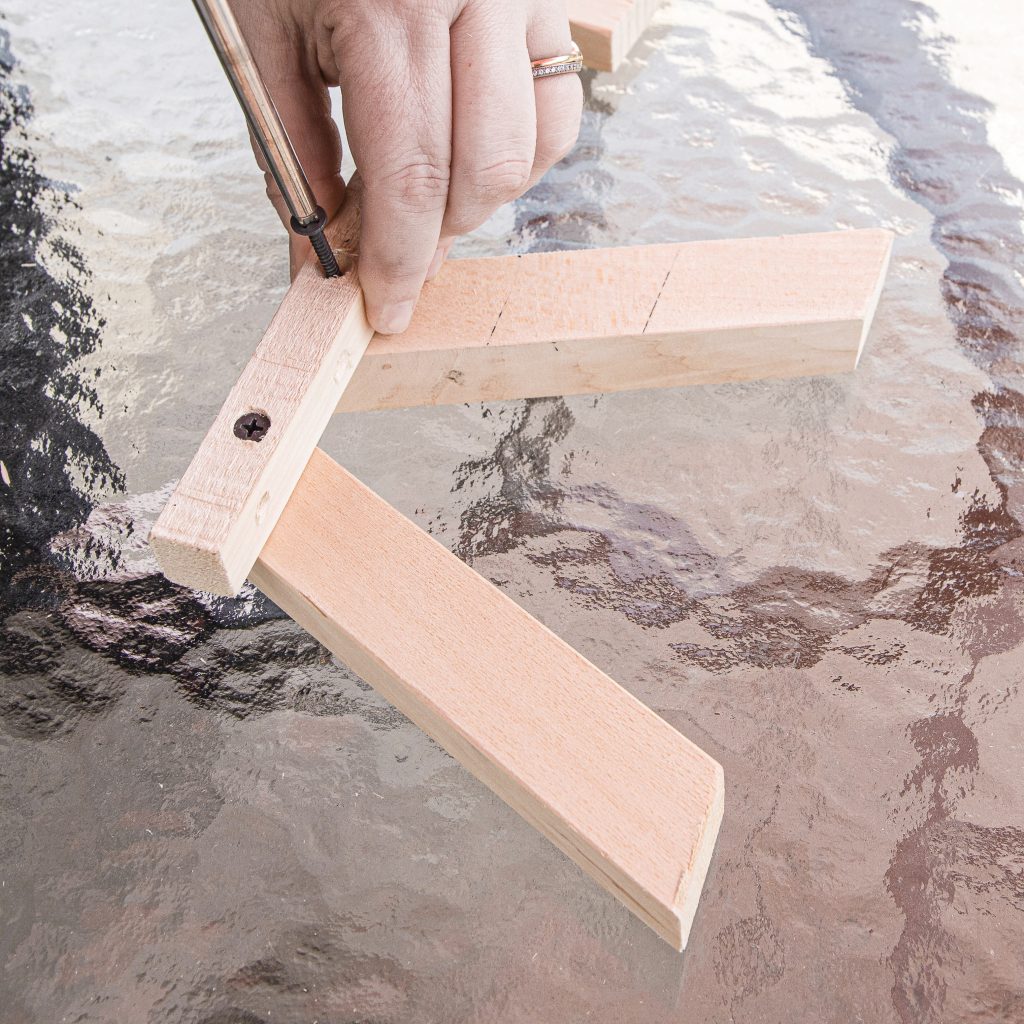
Steps 4
Screw the .75” square pieces to 2 of the 6”x1.25” pieces along the top edge making a “workhorse” shape. Repeat with the second set.

Step 5

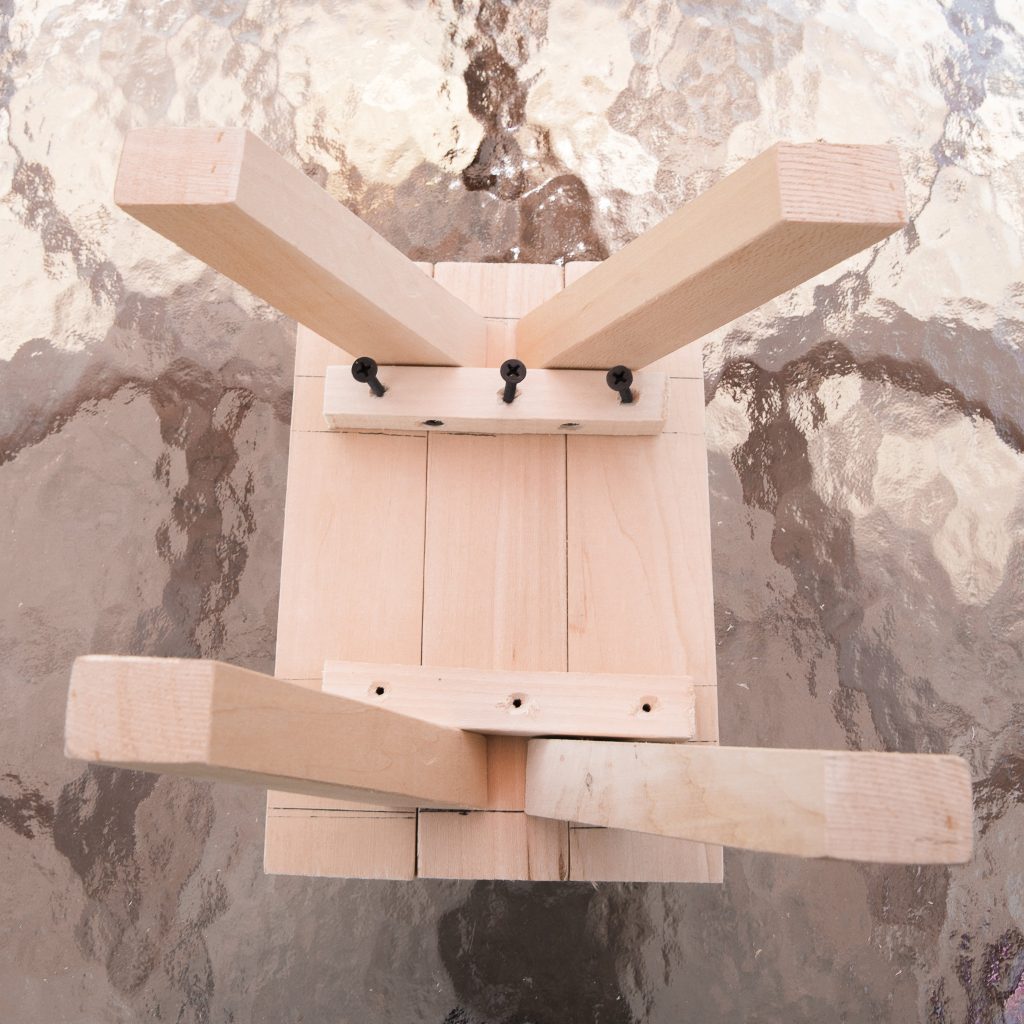
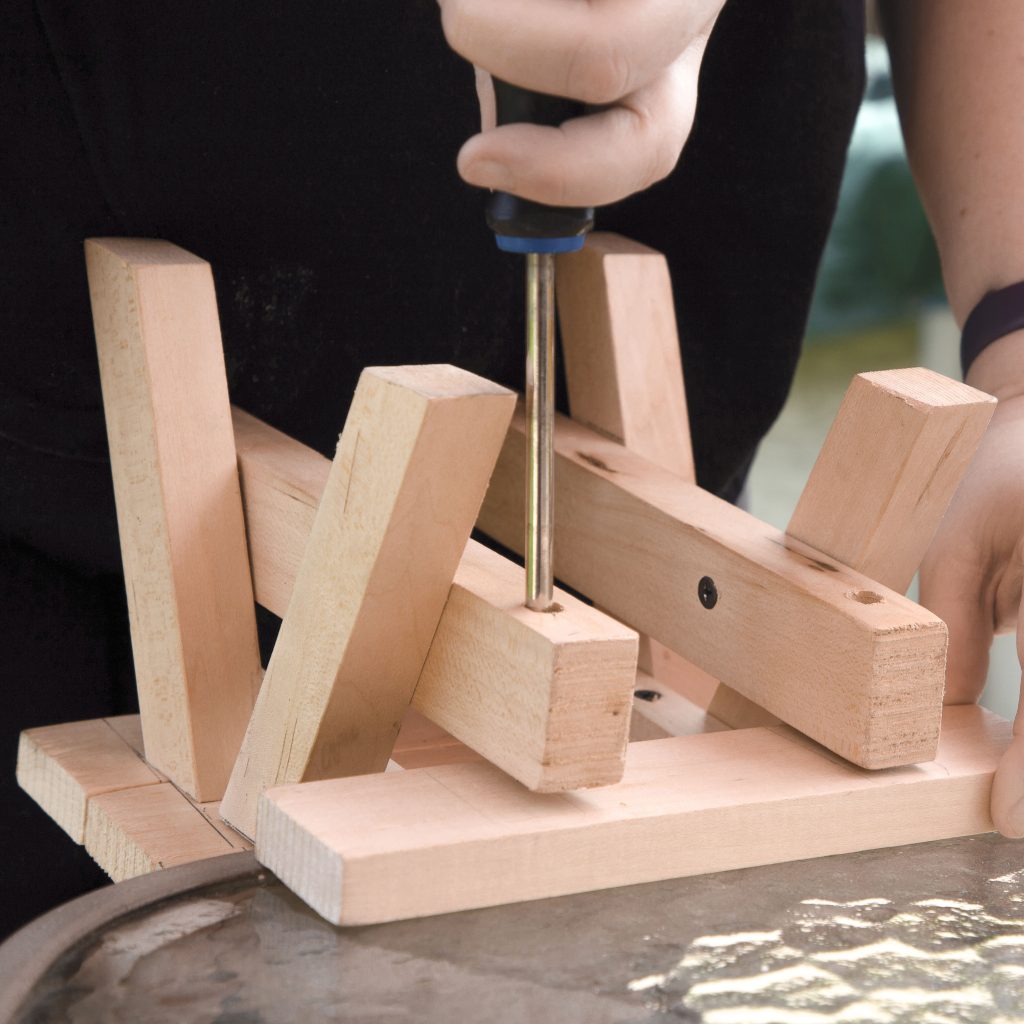
Lay out 3 of the 8”x1.75” pieces together making your tabletop. Mark with a pen where you will be placing the workhorse leg pieces. Take one of the workhorse pieces and secure with 3 screws.

Steps 6-7
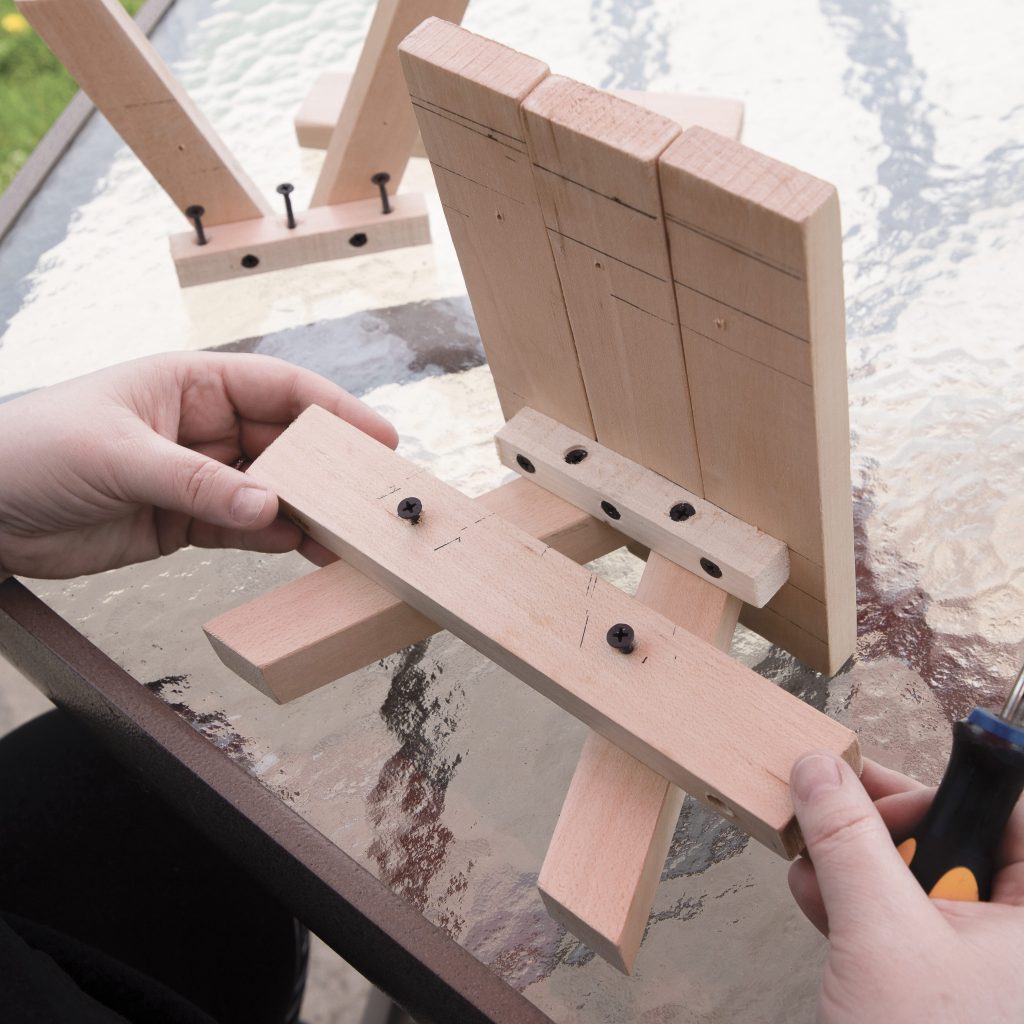
Take one of the 9”x1.25” Seat support pieces and secure to the workhorse piece aprox. halfway down.
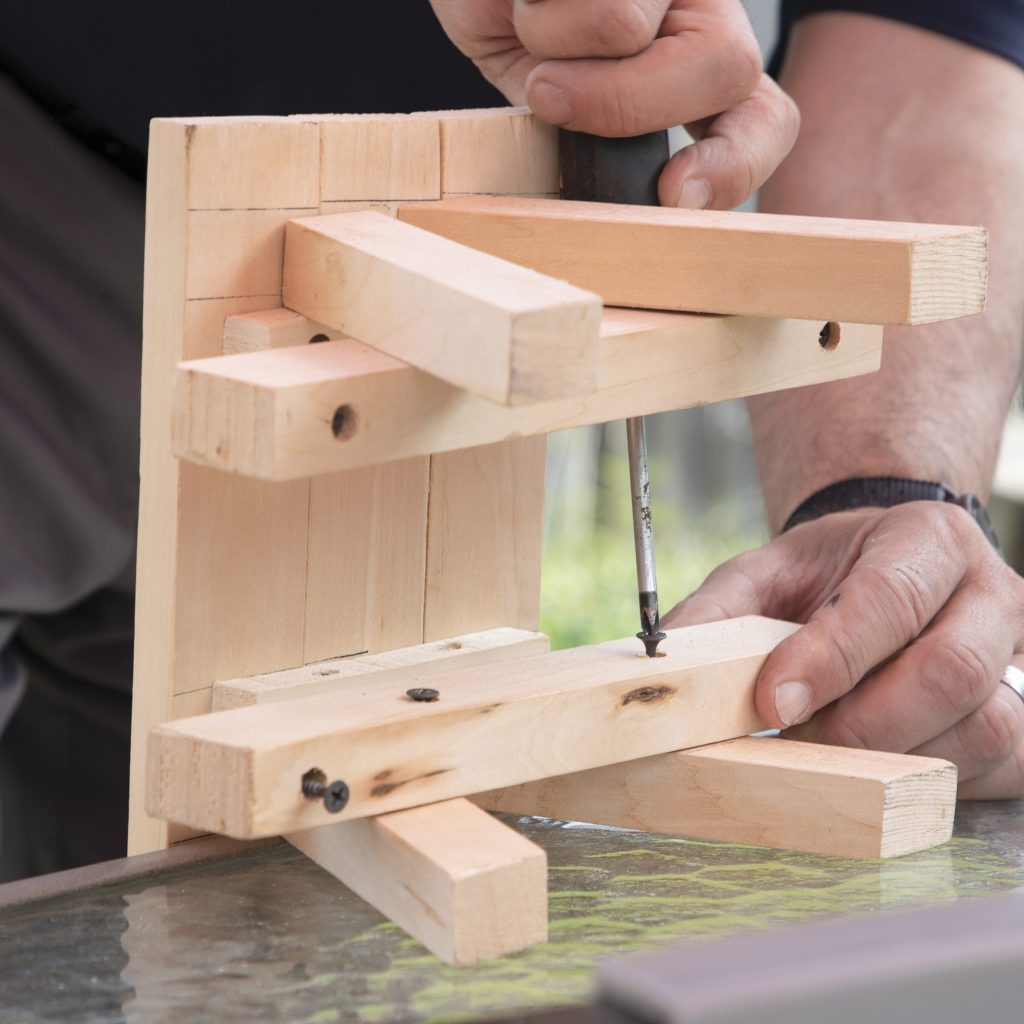
Steps 8-10
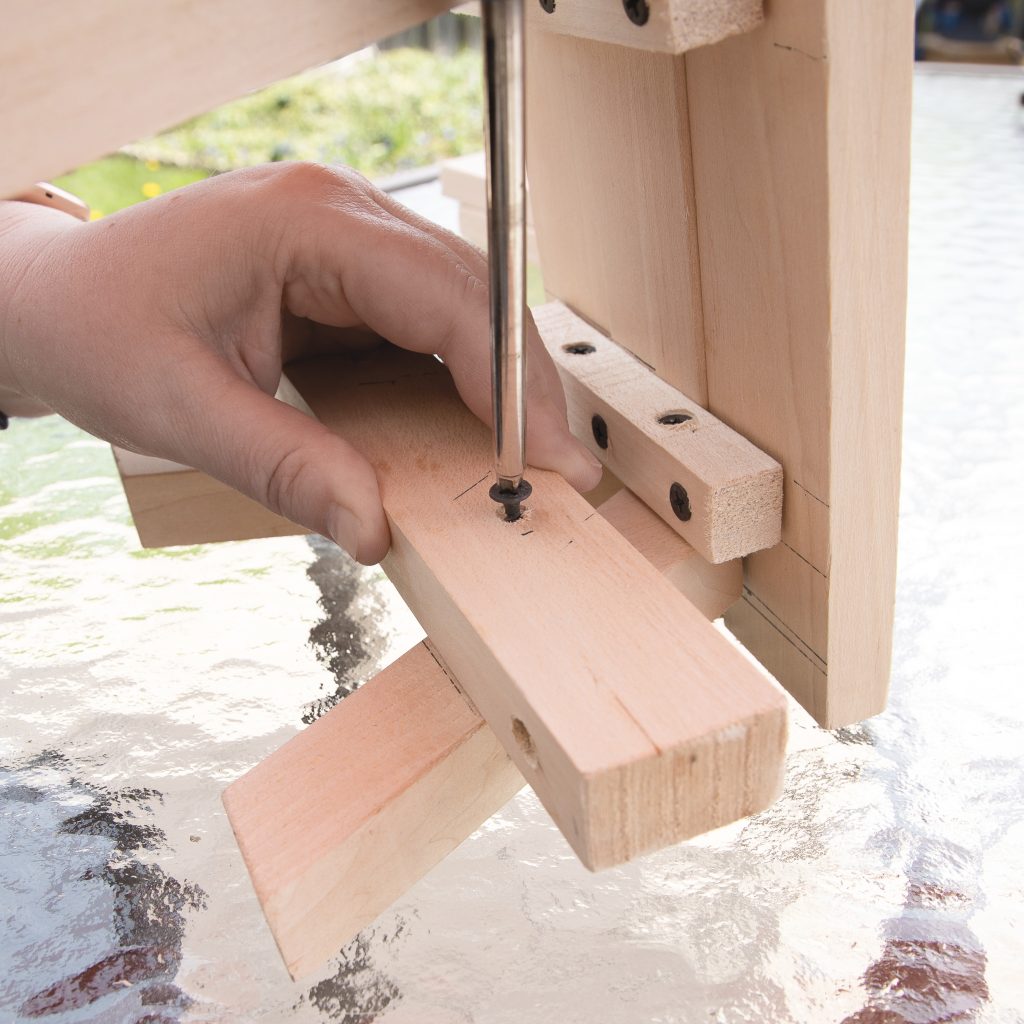
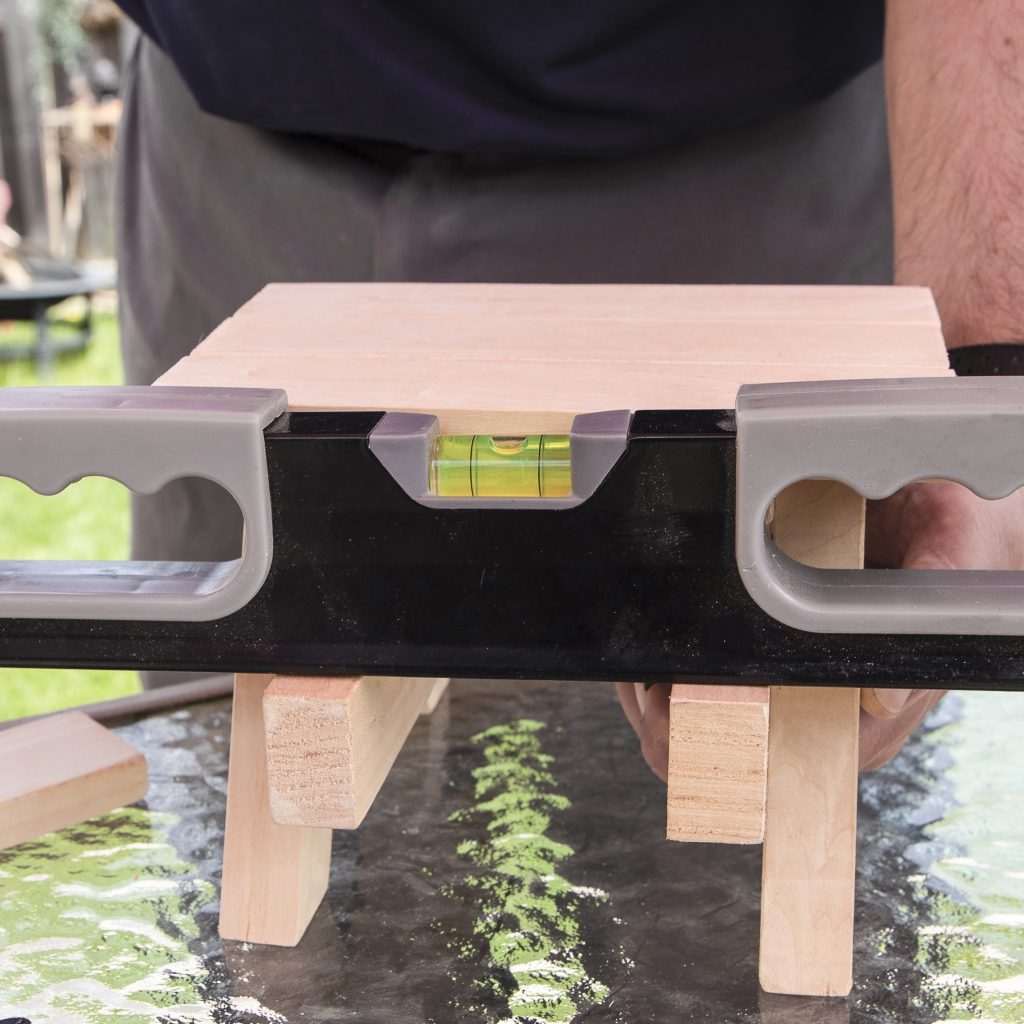
Repeat steps 5,6 & 7 on the other side. Be sure to check that the seat support on the opposite side is level so that your table doesn’t “wobble” once complete.
NOTE: Securing the second seat support is a little tricky because the other legs get in the way. I found that if I used the edge of the table I was working on as a support, that helped immensely!

Step 11
The last thing I did was attach a plastic bowl to the top so the seeds don’t make a big mess. (This step is optional).
Now Chippy has a very special place of his own to sit and munch in peace. I hope you get as much joy out of this project as I did making it!