


Spring is finally here! Wreaths are a great way to liven up your front porch, infusing the colours and spirit of the season. Making your own wreath is a fantastic way to ensure the size, fullness and style are exactly what you are looking for, with the added benefit of pride for all your hard work! Boxwood wreaths are a popular spring option, but can also remain part of your front porch décor throughout the summer months.
PRO-TIP: the rule of thumb is there should be 6 inches on either side of your wreath to the edge of the door and should hang roughly 14 inches from the top on a standard door.
How to Make a Boxwood Wreath
Yield: 1 18″ Wreath
Materials
- Hot glue gun
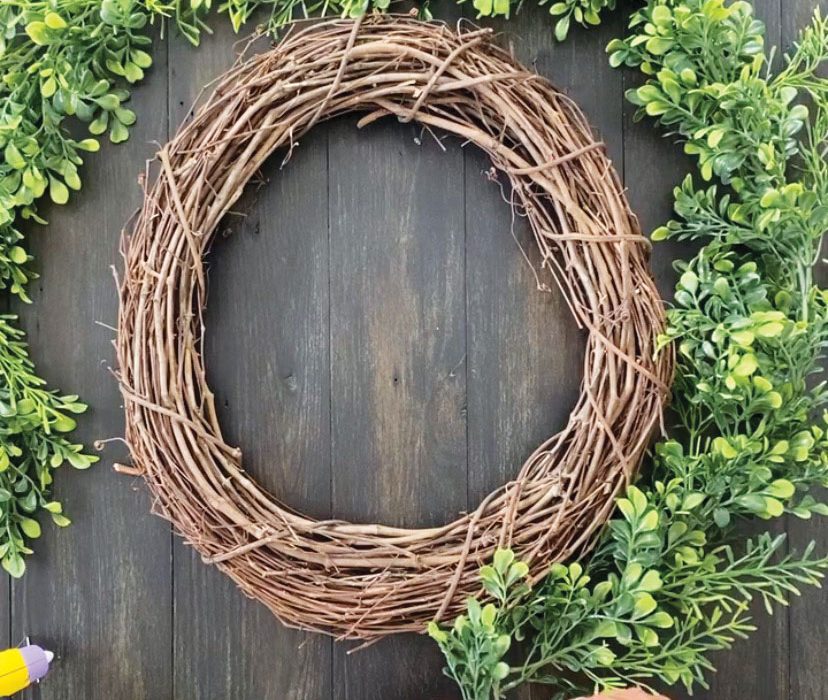
- 18 inch grapevine wreath ring
- 6 ft boxwood garland
- 3 ft of ribbon
- Craft pliers
Instructions
- Lay all material on a spacious surface, ensuring your glue gun is plugged in.
- Using craft pliers remove the boxwood stems from the entire garland and place in piles. You will need all the stems from the garland!
- Apply hot glue to the end of each stem and weave the stem between the wood vines of the wreath ring.
- Work your way around the entire ring to ensure each stem is placed slightly on top of the next.
- When the wreath ring is ¾ completed, place desired ribbon loosely around the ring. This ensures you can create a natural placement for the ribbon by placing stems around it.
- As you reach the ribbon, gently move the ribbon to the side to allow stems to be inserted under the ribbon.
- Once stems have been attached around the entire ring, hold wreath ring upright to check the sides for any bare sections.
- With a final check for any loose stems, your wreath is ready for the front door!